Online:Castle Thorn
|
||||
|---|---|---|---|---|
| Group Dungeon | ||||
| Discoverable | Yes | |||
| Completion | Objective | |||
| Dungeon | Yes | |||
| # of Zones | 4 | |||
| Zone | ||||
| Karthald, Western Skyrim | ||||
| Location | ||||
| Southwest of Mor Khazgur | ||||
| Instanced Dungeon | ||||
| Min Level | 45 | |||
| Group Size | 4 | |||
| Bosses | 5 | |||
| Mini-Bosses | 0 | |||
| Veteran Speed Run Target | 30 mins | |||
| Loading Screen | ||||
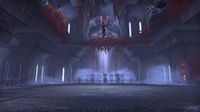
"Despite Lady Thorn's mysterious past, the Ravenwatch never felt the need to deal with her directly. She seemed content to hide away in the mountains, alone in her horrific castle. This one wonders if ignoring her was a terrible mistake." —Adusa-daro
|
||||
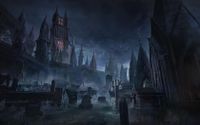
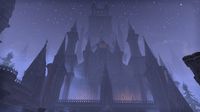
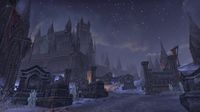
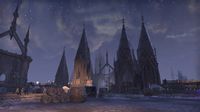
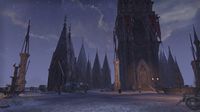
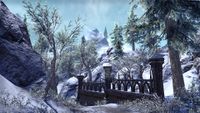
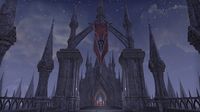
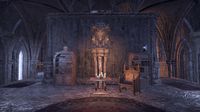
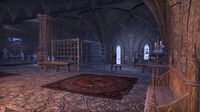
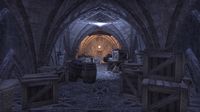
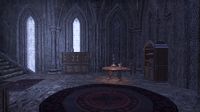
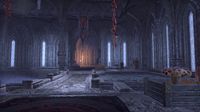
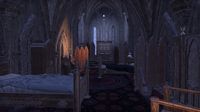
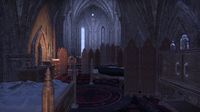
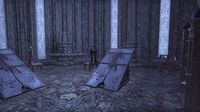
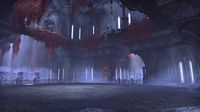
Castle Thorn is a group dungeon nestled in the Haafingar Mountains of Western Skyrim.
It is part of the Stonethorn dungeon pack DLC, along with Stone Garden.
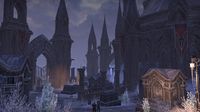
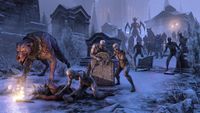
The vampire lord, Lady Thorn, a High Elf who once pertained to Clan Direnni, then known as, Lady Ingerien, rules from here, commanding her Thorn Legion. Crows, fleshflies, rats and spiders can be found in numbers within the dungeon.
Backstory Description[edit]
- Update 27 Patch Notes
Biding her time in her mountain stronghold, Lady Thorn has quietly built her forces for some nefarious means. Now, whispers and rumors in Western Skyrim point to large host gathered at the castle, preparing to march to war … but to where and for what purpose?
Nestled within the barren mountains of Western Skyrim, the formidable Castle Thorn has stood for centuries, with its mysterious inhabitants preferring to remain isolated behind its heavy walls. However, with a dark shadow now rising over Solitude, something evil is stirring within the keep … Once again, the local populace from the surrounding regions have begun to disappear, and all signs point to Lady Thorn's great fortress. However, as this new threat emerges, so do those willing to stand in its way, including House Ravenwatch … With a new army of vampiric monsters unlike anything you've faced before, Lady Thorn prepares to march on Western Skyrim. You and your allies must infiltrate the fortress, uncover the truth behind this new army of the undead, and stop the Vampire Lord before her darkness can threaten Tamriel. Are you ready to assault Castle Thorn?
- Stonethorn Bundle Details
After years of isolation, the mysterious Lady Thorn now amasses a dread army within the walls of her ancient castle. Gather your allies, storm the fortress gate, and stop the Thorn Legion before it marches on Western Skyrim.
Related Quests[edit]
- Castle Thorn Objective: Storm Castle Thorn and uncover Lady Thorn's secret. / You defeated Lady Thorn and her Thorn Legion.
 Blood of the Past: Launch a frontal assault on a Vampire Lord's castle.

 Pledge: Castle Thorn: Prove you are truly Undaunted by clearing Castle Thorn.
Characters[edit]
|
Enemies[edit]
Normal Enemies[edit]
- Bloodfiend
- Blood Channeler (Blood Twilight fight)
- Blood Crawler (Lady Thorn fight)
- Blood Scavenger (Lady Thorn fight)
- Death Hound
- Hemoptera
- Skeleton Hound
- Thorn Legion Marksman
- Thorn Legion Mauler
- Thorn Legion Quickblade
- Thorn Legion Sanguimancer
- Vaduroth's Sickle
- Virulent Viscera
- Volatile Hound (Talfyg fight)
Elite Enemies[edit]
- Blood Guardian (Lady Thorn veteran hard mode fight)
- Death Hound Broodling (Dread Tindulra fight)
- Frozen Gargoyle (Talfyg fight)
- Reanimated Vampire
- Seething Gargoyle
- Thorn Legion Senche-raht
Bosses[edit]
- Dread Tindulra, a massive death hound
- Blood Twilight, a shadowy grievous twilight
- Vaduroth, a sadistic wraith-of-crows
- Talfyg, a vampire turncoat
- Lady Thorn, the mistress of the castle
Hard Mode[edit]
Boss Mechanics[edit]
Dread Tindulra[edit]
Dread Tindulra isn't very complicated when hard mode isn't active. She spits a lot of fire, and starting at 75% health, she periodically raises her head to the sky and howls, calling a swarm of Death Hound Broodlings to chase the group. Avoid the fire, kill the broodlings and defeat Dread Tindulra. It may be a smart idea to leave one of the Death Hound Broodlings alive, as Dread Tindulra will call another group of broodlings some time after one of her swarms has been completely culled.
Blood Twilight[edit]
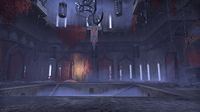
The Blood Twilight is complicated compared to Dread Tindulra. There are two phases that the Twilight alternates between during the fight. Phase changes are on a one minute timer.
Standing Phase[edit]
The Blood Twilight engages the group up close during this phase. The change of phases is on a one-minute timer.
- Dark Barrage
- The Blood Twilight attacks one person by rapidly shooting purple bolts at them. The tank can get in front of the target and absorb the damage by blocking. Alternatively, the healer should go nuts to keep the target alive. However, the former is the more viable option. To best mitigate the damage without having the tank block in front of the target, the target should block, set up damage shields and make use of whatever heals they or the healer can throw at them. Attempting to survive without the help of a tank is not viable on Veteran difficulty.
- Shadow Strike
- The Blood Twilight teleports and slams down upon its target, dealing devastating physical damage. This can be survived by blocking, warding and healing on normal, but on Veteran, the Twilight should be focused on the tank to prevent weaker group members from being killed in one shot.
- Summon Blood Channelers
- Summons four Blood Channelers on all four sides of the room to empower the Blood Twilight. Kill them as soon as possible, they channel a beam into the Blood Twilight that causes it to deal more damage.
- Blood Mines
- Blood mines are occasionally summoned after the Blood Channelers die. Stepping on these mines deals magic damage. Try to avoid them; they're very obvious, and look like little red lumps sitting on the ground.
Blood Pool Phase[edit]
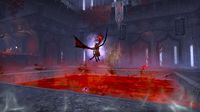
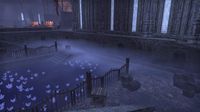
The Blood Twilight hovers above the center of the arena, becoming invulnerable and causing a pool of red Ichor to rise beneath it. A Reanimated Vampire is summoned during this phase. The change of phases is on a one-minute timer.
- Ichor
- Standing in the ichor applies a slowing debuff, and deals a lot of magic damage over time. Stay out of the ichor. If you get hit into the pool, there are stairwells that you can climb to get out of it. Mitigate the damage as best you can as you make your way back up.
- Shades: The Blood Twilight will summon red shades (identical copies of itself that cannot be hit) to try to push players into the center. If they manage to push you, they deal mild damage.
- Strategy for Avoiding Being Hit Into the Ichor: Try to hug the wall. Your group should pick a corner to huddle in together and burn the Reanimated Vampire down. Huddling in a corner makes the shades less likely to hit you into the center. When the shades show up, stay in the corner and move around. Do not stray too far from the corner, lest you get shoved into the center.
- Blood Channelers
- If there are any Blood Channelers alive during this phase, now would be a good time to take them out, as the Blood Twilight itself will not face you to deal any damage.
Vaduroth[edit]
- Rend
- Vaduroth prepares for a vicious swing, raising its axe above its head then driving it down at its target, dealing very high physical damage and knocking them down. This can be blocked.
- Crow's Feast
- Vaduroth conjures a storm of ravenous crows that begins flying around the arena independtly, indicated by a large red circle, dealing continuous high physical damage. The swarm also throws projectiles at nearby targets outside of it, which deals moderate magical damage.
- Discard
- At 75%/50%/25% health, Vaduroth throws its sickle away from itself in the arena, which briefly animates on its own and pulls targets to it, who are stunned and flailing the entire way (with no way to interrupt). Once at the sickle, targets are imbued with shadowy energy, indicated by growing red circles, which combusts dealing moderate magical damage, and deals more damage if multiple targets remain close together. Defeating the animated sickle causes it to remain lodged into the ground temporarily, with a green circle around it.
- Sickle Toss
- While in the green circle, looking up to the ceiling at any of the hanging corpses shows a "Use" prompt, and making use of the prompt causes the sickle to be thrown at the highlighted body. This results in the body exploding and dropping Virulent Viscera into the arena that is allied against the boss.
- The sickle lands in the direction of the selected body, creating another green circle, and can be tossed again, but Vaduroth will recall it if not used fast enough, and the time window to do so becomes shorter after each use.
- Harvest
- Vaduroth teleports to one of the strapped corpses and brings them back to life as a Reanimated Vampire so that theycan assist in the fight. The reanimation process grants a small damage shield to Vaduroth and the reanimated vampire. This always occurs after "Discard".
- Collection
- Vaduroth flies up to the hanging corpses and slashes one, spawning a Virulent Viscera of its own to assist in the fight.
Talfyg[edit]
During the fight, Gwendis will assist by temporarily stunning the gargoyles that are brought to life by the boss. Talfyg uses the following abilities:
- Talons
- Basic melee attack that deals moderate physical damage.
- Cross Swipe
- A powerful claws melee attack that deals very high physical damage and staggers. This can be blocked.
- Annihilate
- Talfyg raises his hand forward as a beam of concentrated blood magic shoots off at a target, indicated by a red circle, dealing continuous high magical damage. Once Talfyg is below 50% health, this ability becomes able to follow targets instead of remaining static at the iniital point of casting.
- Disintegrate
- Once Talfyg is below 50% health, this ability becomes available. Talfyg conjures a storm of blood around himself, then slams the ground fiercely, shattering the storm leaving lingering residue behind, indicated by a very large red circle. The initial impact deals very high magical damage and the lingering residue deals continuous high magical damage.
- Summon
- Talfyg can summon various adds. When he shouts, a Volatile Hound materializes in the arena nearby. He can also channel energy into the statues around the arena, which erupts them as a Seething Gargoyle for the smaller statues, and Frozen Gargoyles for the larger statues.
Lady Thorn[edit]
Lady Thorn is the final boss of Castle Thorn. There are a few moves to look out for on the ground:
- Rive
- Lady Thorn creates many small areas throughout the arena which explode after a delay, dealing moderate physical damage. When Lady Thorn is below 50% health, only one area now spawns, but it grows in size over time and deals higher damage, and Lady Thorn doesn't have to perform a casting animation to create them.
- Expulse
- Lady Thorn creates similar areas as in "Rive", but pushes them outward instead of detonating them, dealing moderate magical damage.
- Incursion
- Lady Thorn approaches a target with alarming speed and drains some of their blood, dealing major physical damage.
Phase changes occur at 90%, 70%, and 45% health:
- Batswarm
- At 90% health, Lady Thorn summons a swarm of bats that blankets the entire arena, dealing increasing continuous oblivion damage to those who stand in it. A single green AoE (reminiscent of Zaan the Scalecaller's shield throw) will appear in the thick of the swarm. Standing in that circle gives protection from the bats and leaves a safe area to battle Lady Thorn.
- Scatter
- At 70%/45% health, Lady Thorn disappears into a bloodthirsty swarm and becomes untargettable, as a large area appears under her last position and deals continuous moderate magic damage. Many smaller areas shoot out and travel outward from the larger mass in many directions, which deal continuous moderate physical damage. Also, Blood Crawlers rapidly spawn from the larger area.
- At 55%/15% health, this ability is used again, but this time, Lady Thorn flies off during it and becomes invulnerable. In this instance, the safe zone is constantly on the move. Blood Scavengers periodically spawn. Killing them enables use of the Corrupted Blood synergy at their location. While in the Corrupted Blood synergy animation, standing in the Batswarm doesn't deal any damage, then run back into the safe zone. This must be performed twice to end the ability. On Veteran Hard Mode, a Blood Guardian appears in the swarm to make getting to the synergy more difficult.
- Blood Dive
- During Batswarm, Lady Thorn periodically flies in a straight line in the arena, dealing moderate physical damage, knocking back and stunning targets hit. Blocking this attack prevents the crowd control.
Hard Mode Mechanics[edit]
Layout[edit]
Ancestral Necropolis[edit]
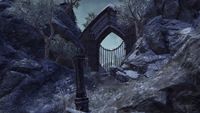
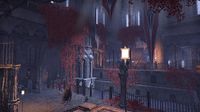
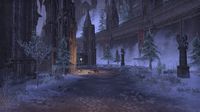
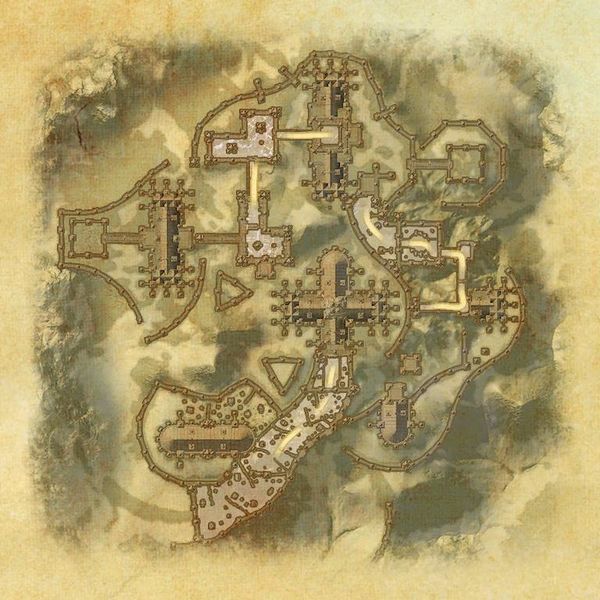
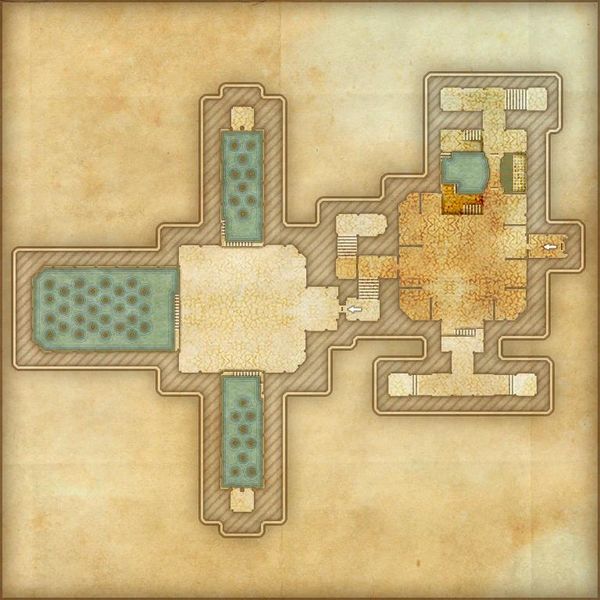
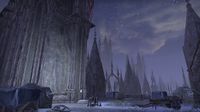
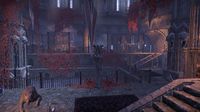
The Ancestral Necropolis is a large graveyard leading up the castle's courtyard, and the first area of the dungeon. Gwendis and Talfyg can be seen arguing near the entrance of the dungeon. Several Thorn Legion Sanguimancers, one Thorn Legion Mauler, several Skeletal Hounds and plenty of Bloodfiends guard the path to the courtyard.
A single Thorn Legion Senche-raht guards the door to the courtyard. You cannot enter the courtyard unless you defeat the group of enemies in front of the door.
Castle Courtyard[edit]
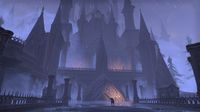
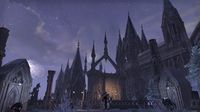
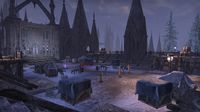
A large courtyard with a pointed fence blocking off an expanse of land littered with headstones on either side of the walkway. Dread Tindulra guards the entrance to the castle.
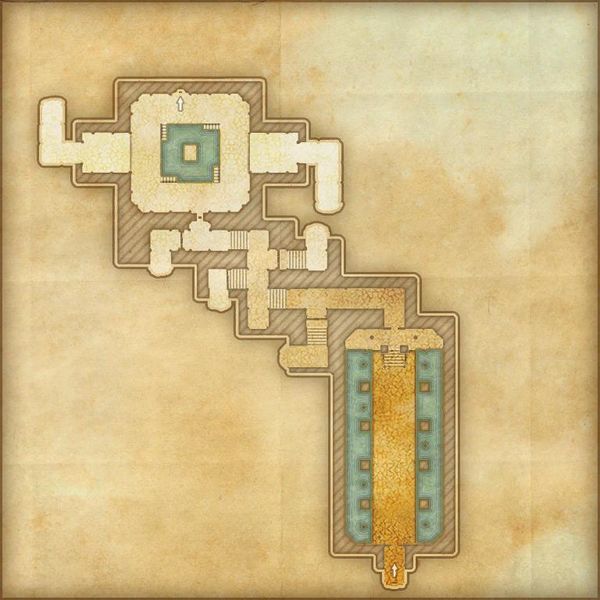
Castle Thorn[edit]
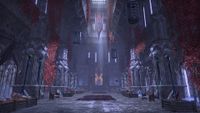
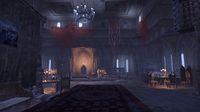
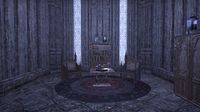
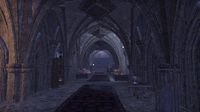
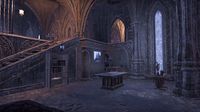
The castle proper. A chest can be found in the entrance hall, to the right of the stairs. An Architectural Survey Summary Report lies on table in the central hallway. A Thorn Legion Senche-raht must be killed to go through the door to the Garden Conservatory.
Garden Conservatory[edit]
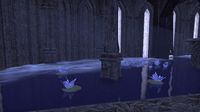
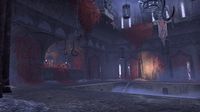
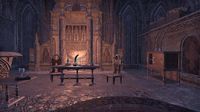
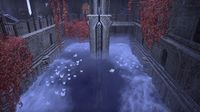
An indoor garden, complete with gargoyle statues on the rafters above. You will face the Blood Twilight in this chamber.
Southern Training Yard[edit]
The Southern Training Yard must be passed to reach the Northern Training Yard. In this area, you will be introduced to the mechanic for the next boss fight. Vampires train for combat here. This is also the first area Hemopteras appear.
Northern Training Yard[edit]
Beyond this area lies the Sanctuary of Lament. More vampires can be seen training for combat here.
Sanctuary of Lament[edit]
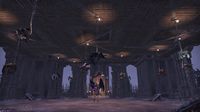
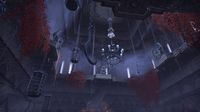
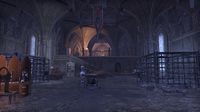
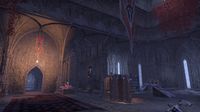
Many creatures have been hung from the ceiling on hooks. Vaduroth is fought here.
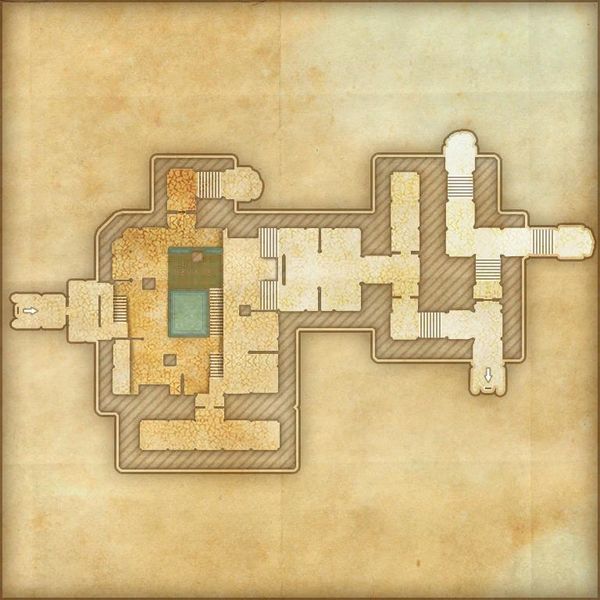
Castle Keep[edit]
A chest can be found on the northern side of the center hallway, before the stairs with the Seething Gargoyles. A heavy sack can be found in the eastern hallway, by the exit.
Castle Exterior[edit]
Statuary Garden[edit]
Talfyg serves as the dungeon's fourth boss in this section.
Battlements[edit]
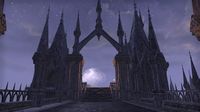
The last bastion before the Cathedral, where Lady Thorn is holed up. Two Seething Gargoyles guard the bridge, and two Thorn Legion Senche-rahts guard the door to the Cathedral.
Cathedral Narthex[edit]
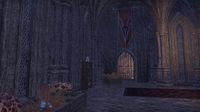
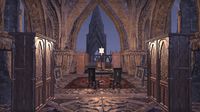
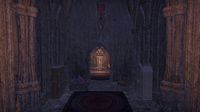
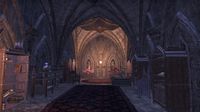
A note titled A Daedric Proposal can be found on a desk in the center of the Cathedral Narthex.
Grand Cathedral[edit]
Lady Thorn is fought here.
Books[edit]
- Architectural Survey Summary Report by Tarnolvar, Chief Surveyor of the Architectural Guild, Daggerfall Branch — A letter addressed to Lady Thorn, regarding the Castle Thorn's structural integrity
- A Daedric Proposal by Galdrus Salobar, Sanguimancer Supreme — A letter addressed to Lady Thorn, regarding the act of resurrecting dead Vampires
Sets[edit]
| Set Name | Bonuses | Location(s) | Set Type |
|---|---|---|---|
| Talfyg's Treachery |
2 items: Adds 15-657 Critical Chance |
Castle Thorn |
Light Armor |
| Unleashed Terror |
2 items: Adds 3-129 Weapon and Spell Damage |
Castle Thorn |
Medium Armor |
| Crimson Twilight |
2 items: Adds 28-1206 Maximum Health |
Castle Thorn |
Heavy Armor |
| Lady Thorn |
1 item: Adds 28-1206 Maximum Health |
Castle Thorn |
Monster Helm Sets |
Achievements[edit]
There are 18 achievements associated with this dungeon:
| Achievement | Points | Description | Reward | |
|---|---|---|---|---|
| Stonethorn Explorer | 5 | Enter either Stone Garden or Castle Thorn for the first time. | Non-combat Pet: Energetic Dwarven Shock-Spider | |
| Thorn Legion Style Master | 50 | Learn every chapter in the Thorn Legion style book, occasionally found as rewards for completing the Castle Thorn Dungeon. |
| |
| Needed for Castle Thorn Challenger | ||||
| Castle Thorn Challenger | 50 | Complete the listed achievements for Veteran Castle Thorn. | ||
| Castle Thorn Conqueror | 10 | Defeat Dread Tindulra, the Blood Twilight, Vaduroth, Talfyg, and Lady Thorn in Veteran Castle Thorn. | Skin: Reanimated Vampiric Thrall Bust: Lady Thorn (page) | |
| Thorn Remover | 50 | Defeat Lady Thorn after raising the challenge banner in Veteran Castle Thorn. | Title: The Inedible | |
| Impervious Onslaught | 50 | Defeat all encounters in addition to Dread Tindulra, the Blood Twilight, Vaduroth, Talfyg, and Lady Thorn in Veteran Castle Thorn without suffering a group member death. | ||
| Homewrecker | 50 | Defeat Dread Tindulra, the Blood Twilight, Vaduroth, Talfyg, and Lady Thorn within 30 minutes of entering Veteran Castle Thorn. Your timer starts when you engage the first group on enemies. |
| |
| Normal | ||||
| Stonethorn Scout | 10 | Complete both Castle Thorn and Stone Garden in Normal. | ||
| Castle Thorn Vanquisher | 10 | Defeat Dread Tindulra, the Blood Twilight, Vaduroth, Talfyg, and Lady Thorn in Castle Thorn. | Trophy: Lady Thorn (page) Castle Thorn Gargoyle (page) 25,000 | |
| Sickle Skills | 10 | Burst 70 corpses using any of Vaduroth's Sickles in Castle Thorn. |
| |
| Veteran | ||||
| Stonethorn Delver | 50 | Complete both Stone Garden and Castle Thorn in Veteran. | Dye: | |
| Bane of Thorns | 50 | Defeat all encounters in addition to Dread Tindulra, the Blood Twilight, Vaduroth, Talfyg, and Lady Thorn after raising the challenge banner in Veteran Castle Thorn within 30 minutes without suffering a group member death. | Title: Bane of Thorns | |
| Thorn Legion Senche-Raht Slayer | 10 | Defeat 50 Thorn Legion Senche-rahts in Veteran Castle Thorn. | ||
| Thorn Legion Slayer | 10 | Defeat 200 Thorn Legion Vampires in Veteran Castle Thorn. This includes Thorn Legion Sanguimancers, Quickblades, Marksmen, Maulers, or Reanimated Vampires. | ||
| Four by Four | 10 | Defeat Vaduroth after each group member bursts at least one imbued hanging corpse with the sickle in Veteran Castle Thorn. | ||
| Guardian Preserved | 10 | Defeat Lady Thorn after raising the challenge banner without killing the Blood Guardian in Veteran Castle Thorn. | ||
| Hound Pound | 10 | Defeat Dread Tindulra and kill her Broodlings while they are at least 15 meters apart in Veteran Castle Thorn. | ||
| Let Sleeping Gargoyles Lie | 10 | Defeat Talfyg without killing any of the large Frozen Gargoyles during his encounter in Veteran Castle Thorn. | ||
| Taking Turns | 10 | Defeat Lady Thorn after completing both bat swarm phases where each player used the Blood Scavenger synergy at least once per phase in Veteran Castle Thorn. | ||
Notes[edit]
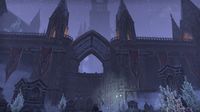
- The entrance to Castle Thorn has been present since Update 26, with one of the towers also being present in the distance.
